라즈베리파이에서 Firebase Storage에 동영상을 올렸다는 가정하에 그 영상을 앱으로 가져와서
탭뷰로 나열한뒤, 실행까지 시키는 연습을 해볼것이다!!.
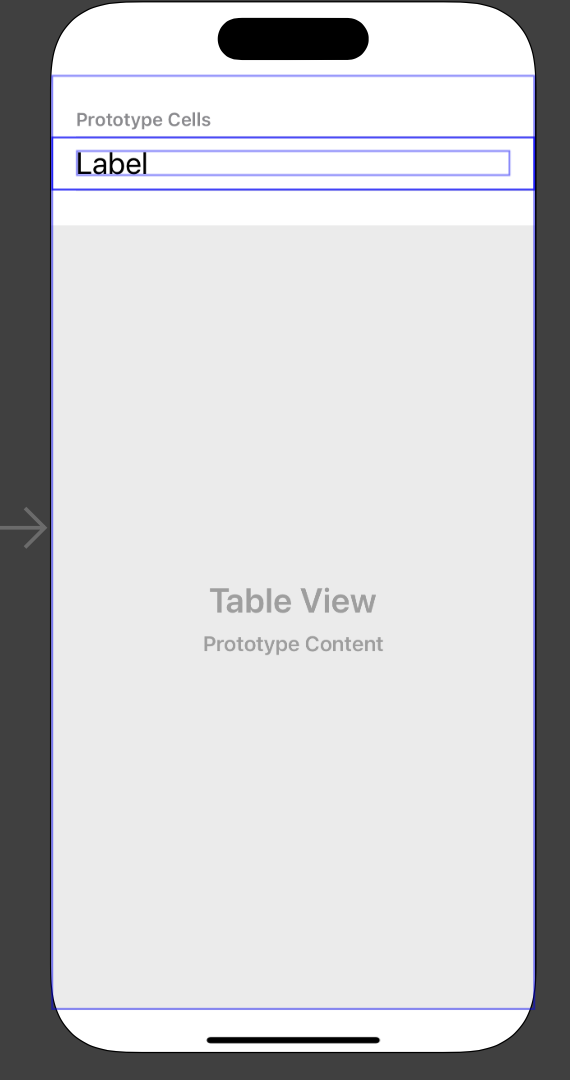
테이블뷰로 뷰를 꽉채운후 테이블뷰 cell과 cell안의 라벨을 추가해 준다.
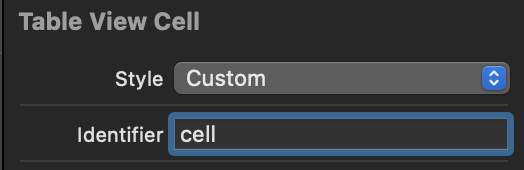
셀의 Identifre를 cell로 설정을 한다.
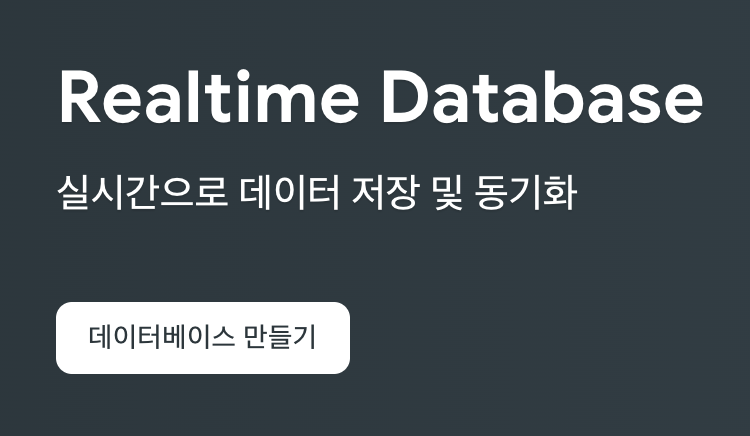
그 다음은 파이어 베이스를 설정해보자~
파이어베이스 콘솔에서 프로젝트를 만들어주고
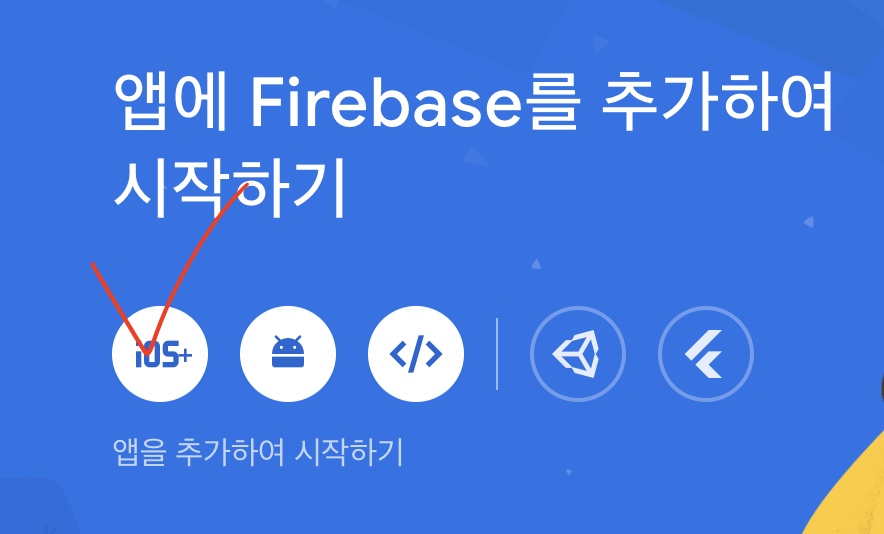
iOS로 시작한다~
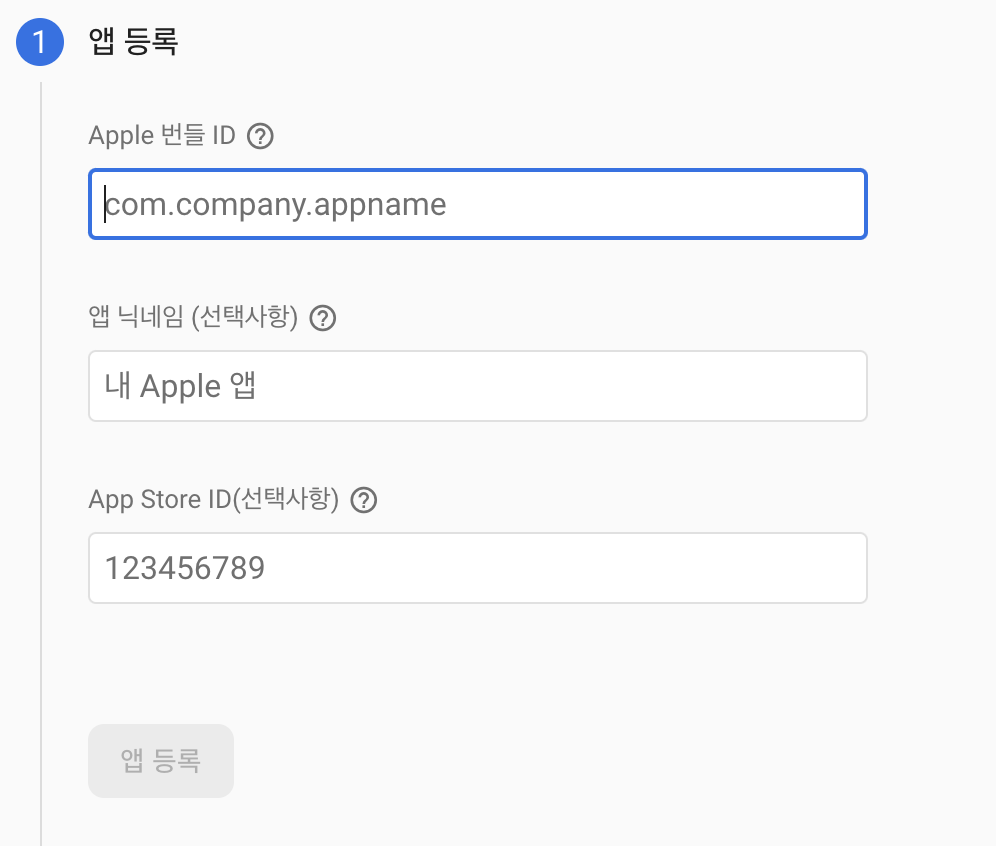
번들ID를 입력을 해야하는데
이건 Xcode로 돌아가서
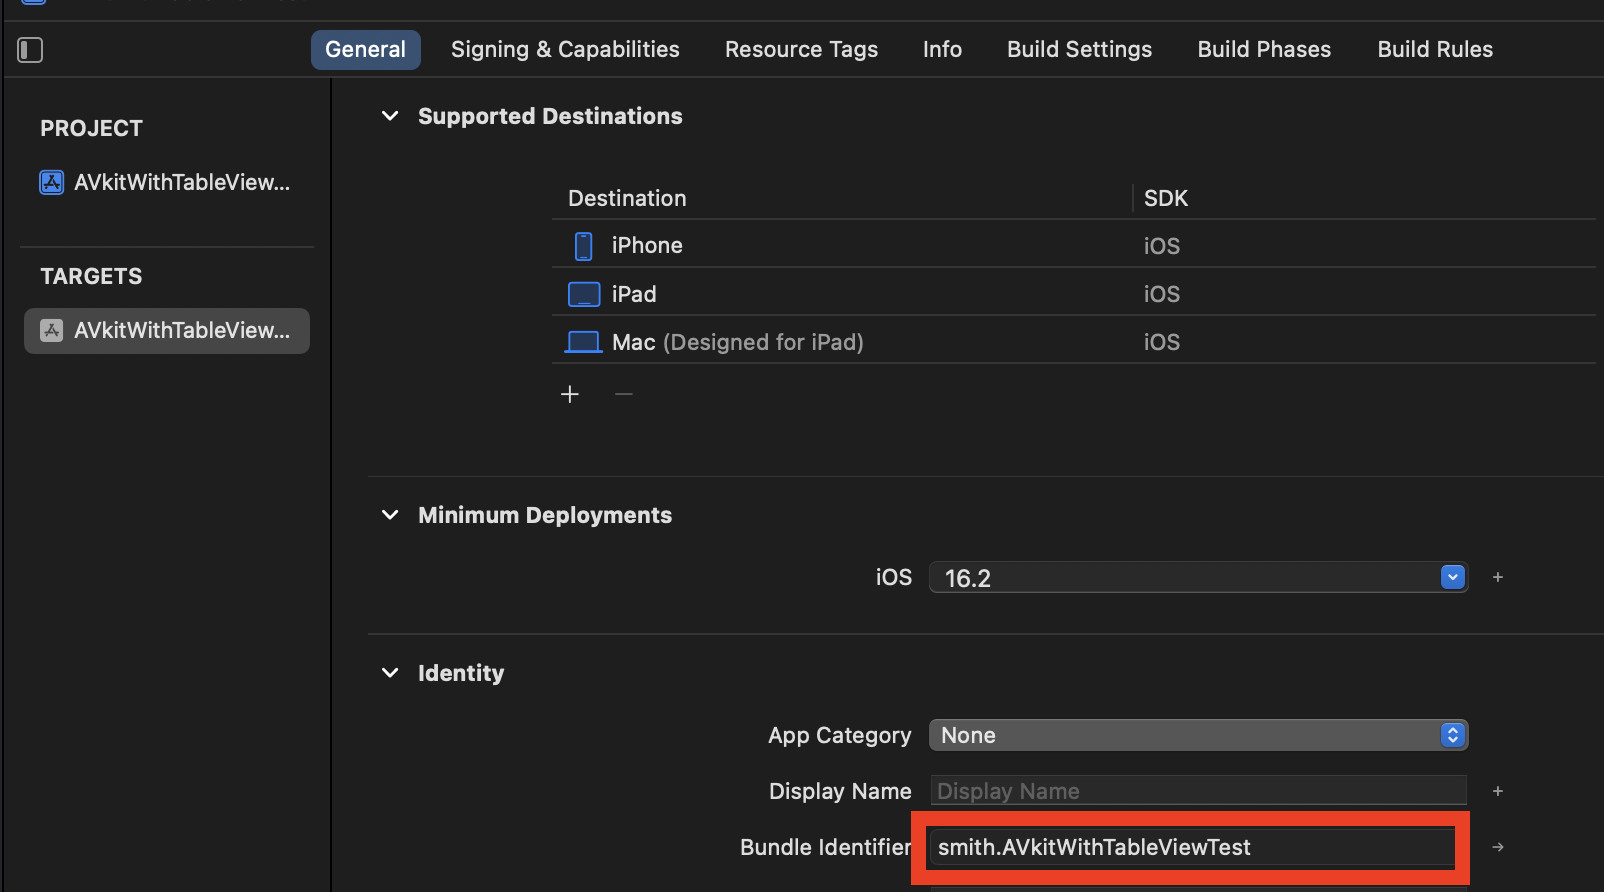
프로젝트 설정에서 빨간 박스를 복붙 하면 된다~

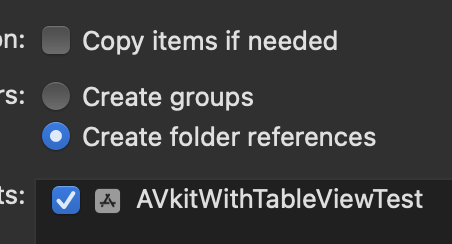
이 파일을 xcode에 옮길것인데
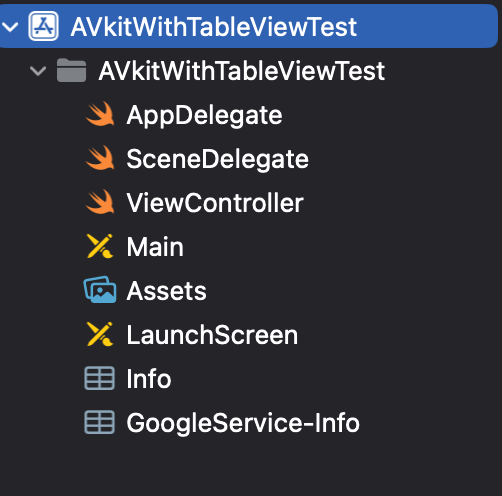
이렇게 끌어 오면 된다.
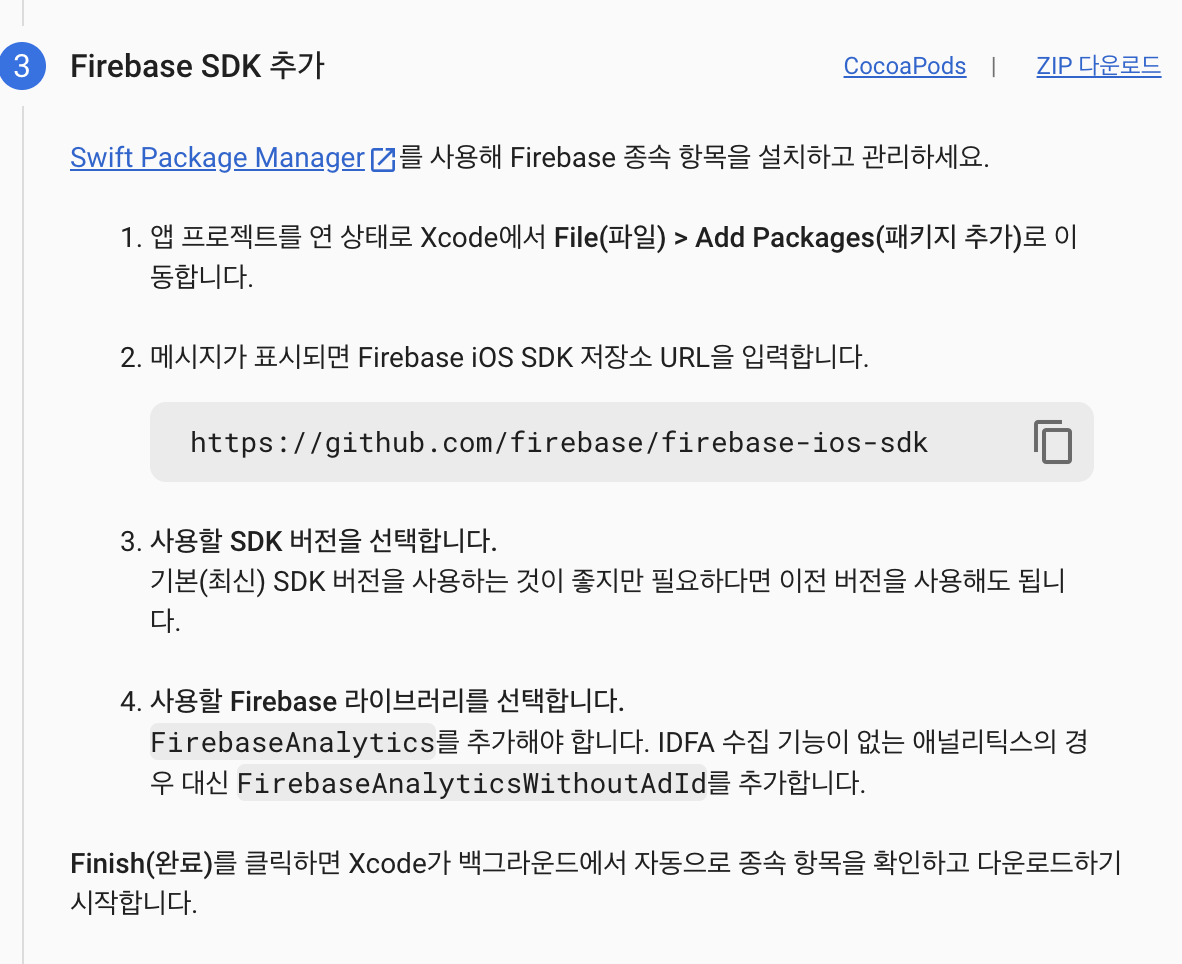
Firebase SDK를 설치합니다.
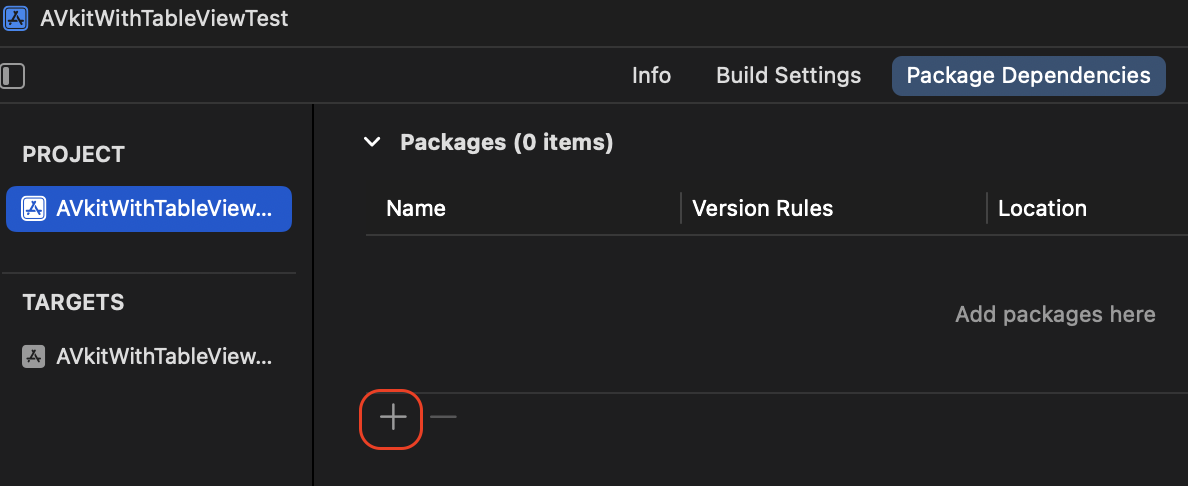
Xcode로 돌아와 프로젝트 설정에서 Package Dependencies에 들어가 +버튼을 눌러줍니다.
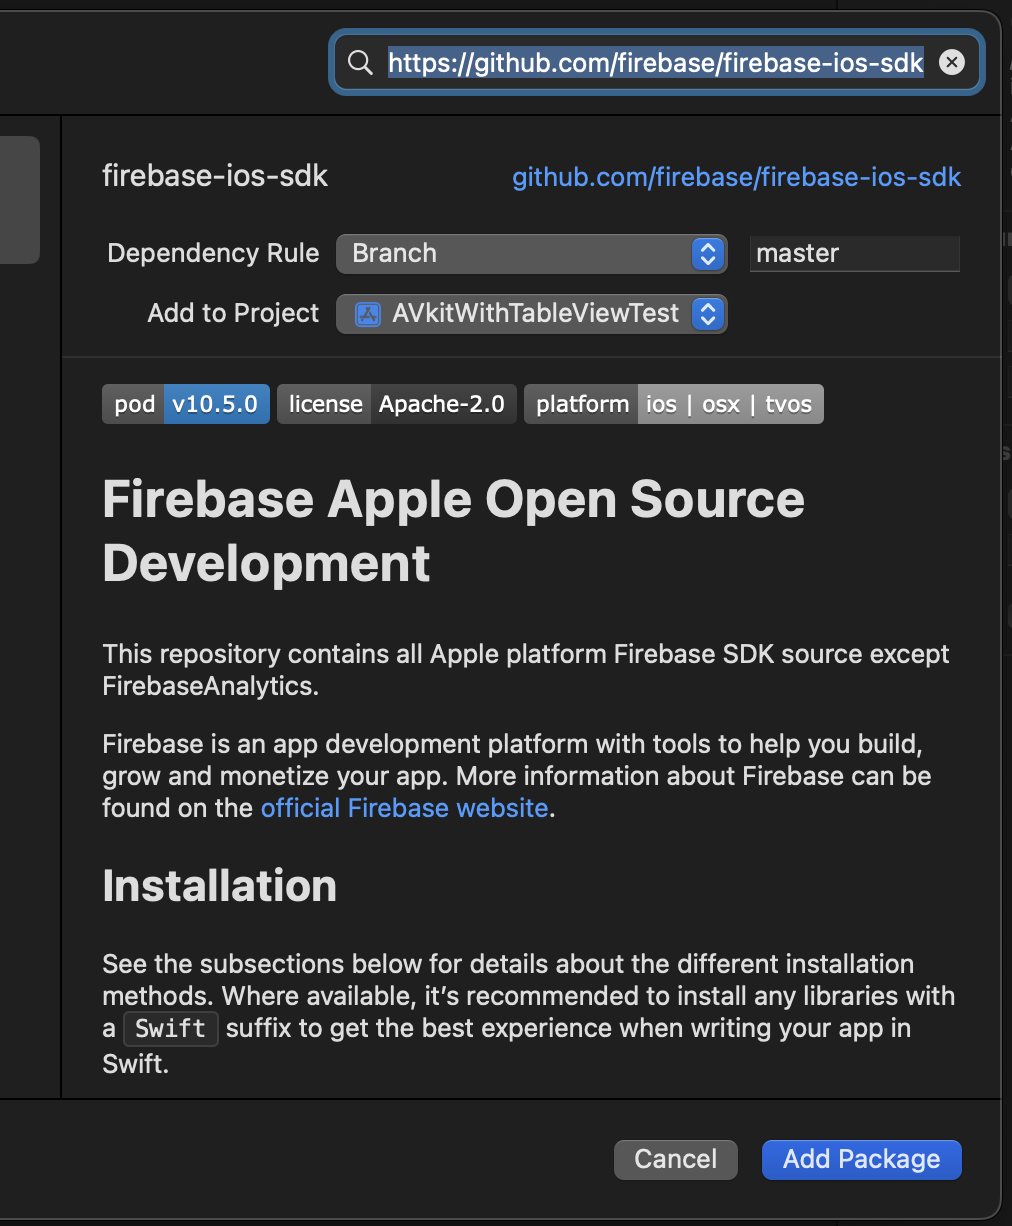
오른쪽 위의 검색창에 아까 복사한 Firebase SDK 저장소 URL을 붙여넣어 주시고.
Add Fackage를 한 후
조금 기다리면?
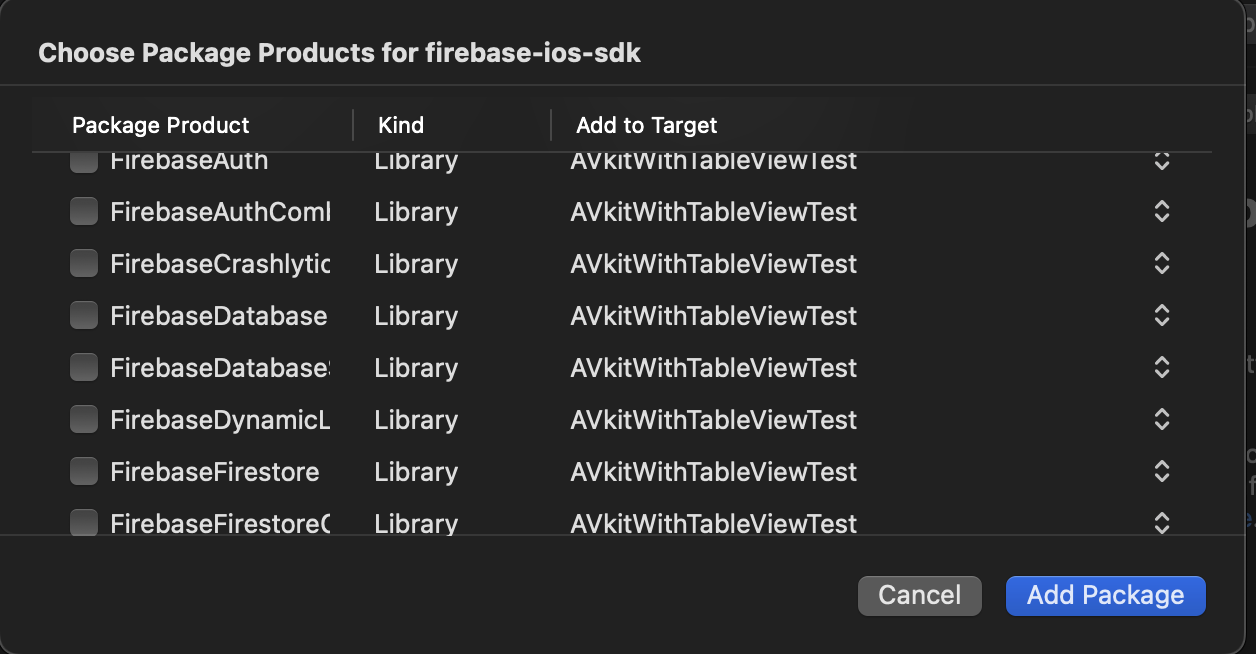
이 화면이 뜨게됩니다~
여기서
FirebaseDatabase
FirebaseDatabaseSwift
FirebaseFirestore
FirebaseFirestoreSwift
FirebaseMessaging
FirebaseStorage를 체크하고 AddPackage
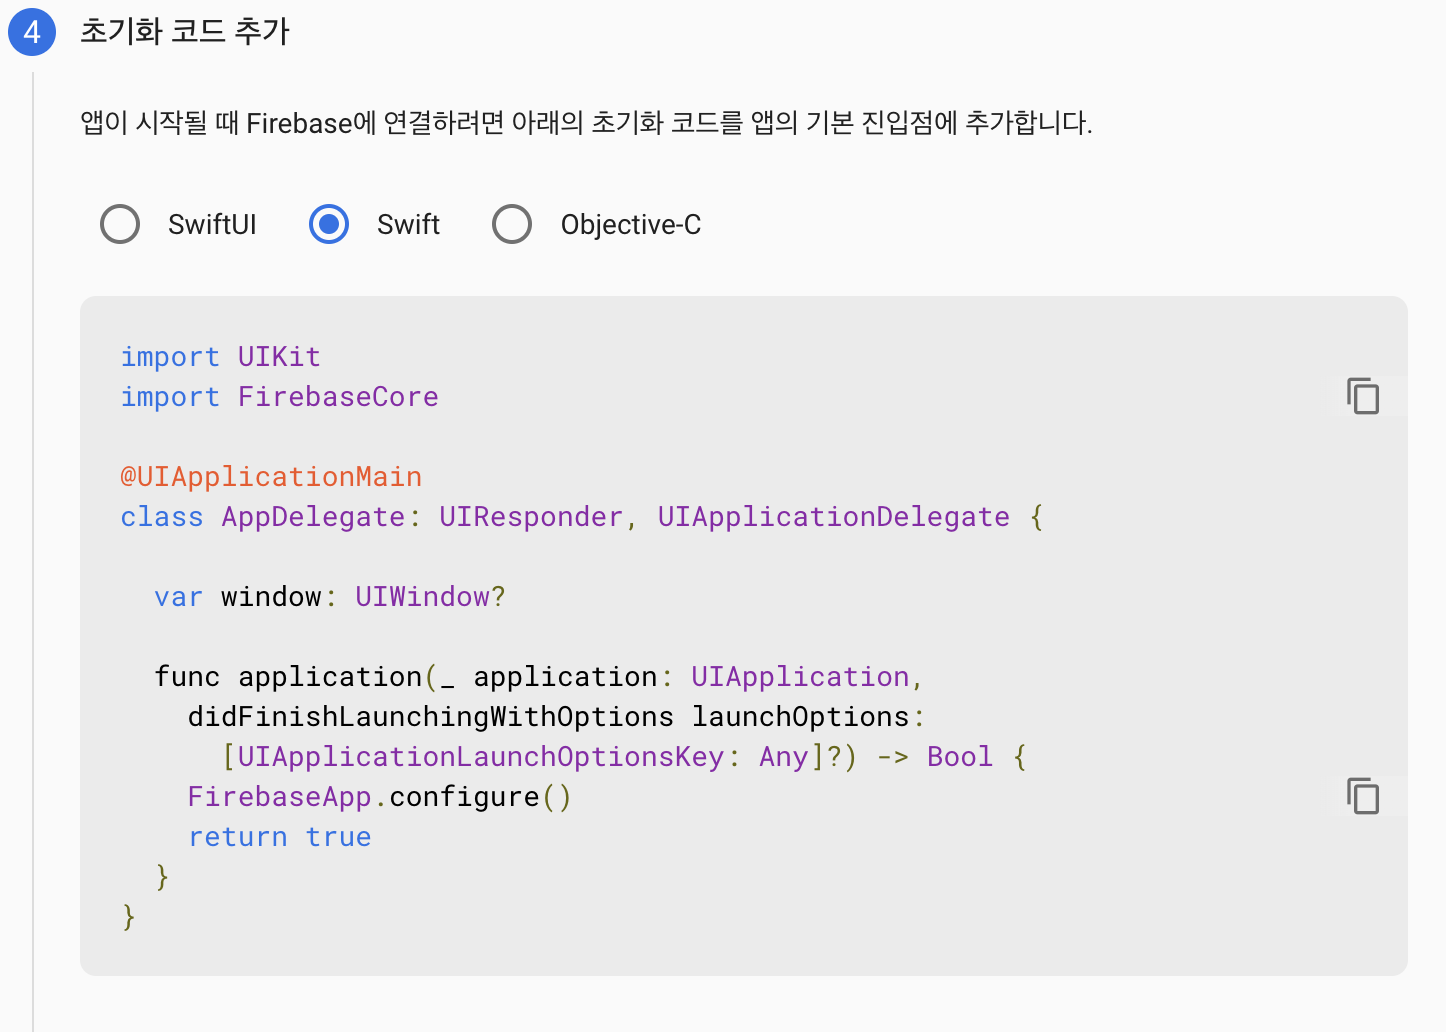
import UIKit
import FirebaseCore

@main
class AppDelegate: UIResponder, UIApplicationDelegate {


    func application(_ application: UIApplication, didFinishLaunchingWithOptions launchOptions: [UIApplication.LaunchOptionsKey: Any]?) -> Bool {
        // Override point for customization after application launch.
        FirebaseApp.configure()
        return true
    }
이렇게 AppDelegate.swift 파일은 변경해 준다.
(혹시 오류가 생기면 Firebase SDK 설치가 끝나면 오류가 사라질거에요~)
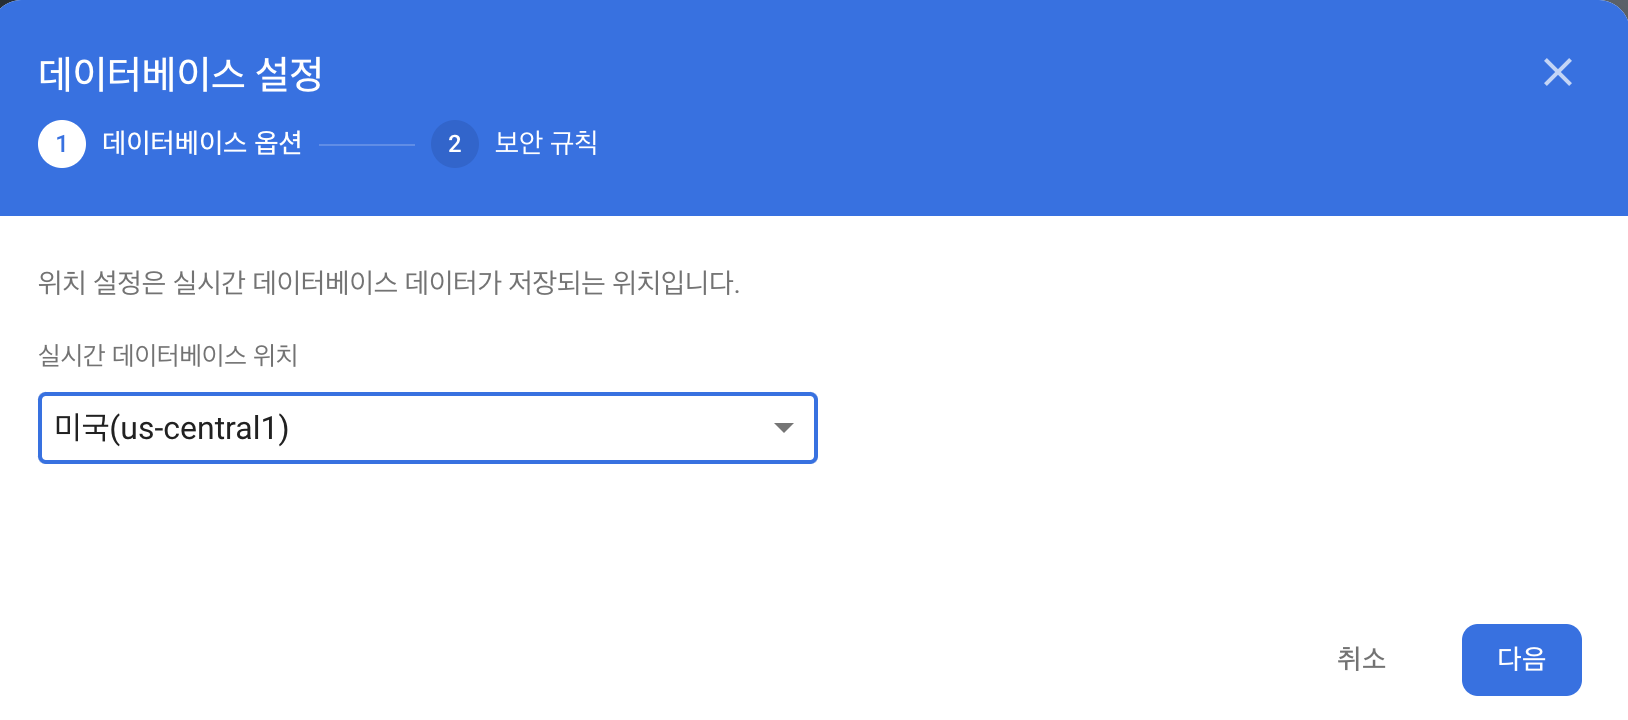
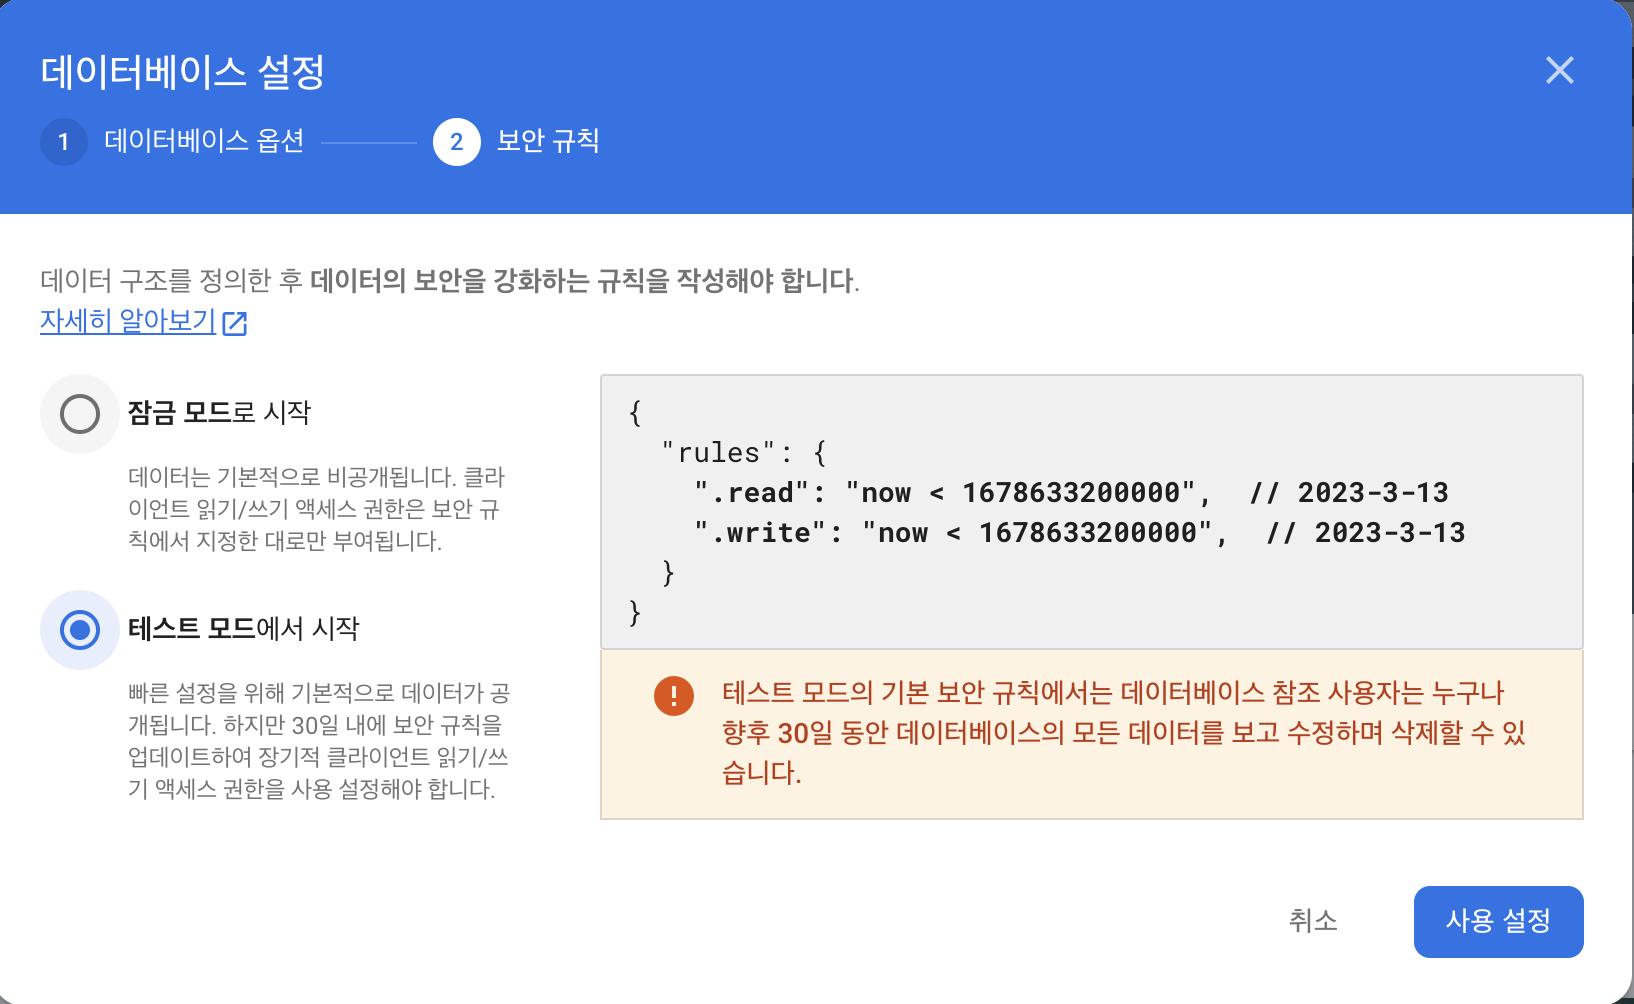
그후 파이어베이스의 RealTImeDatabase를 들어간다.
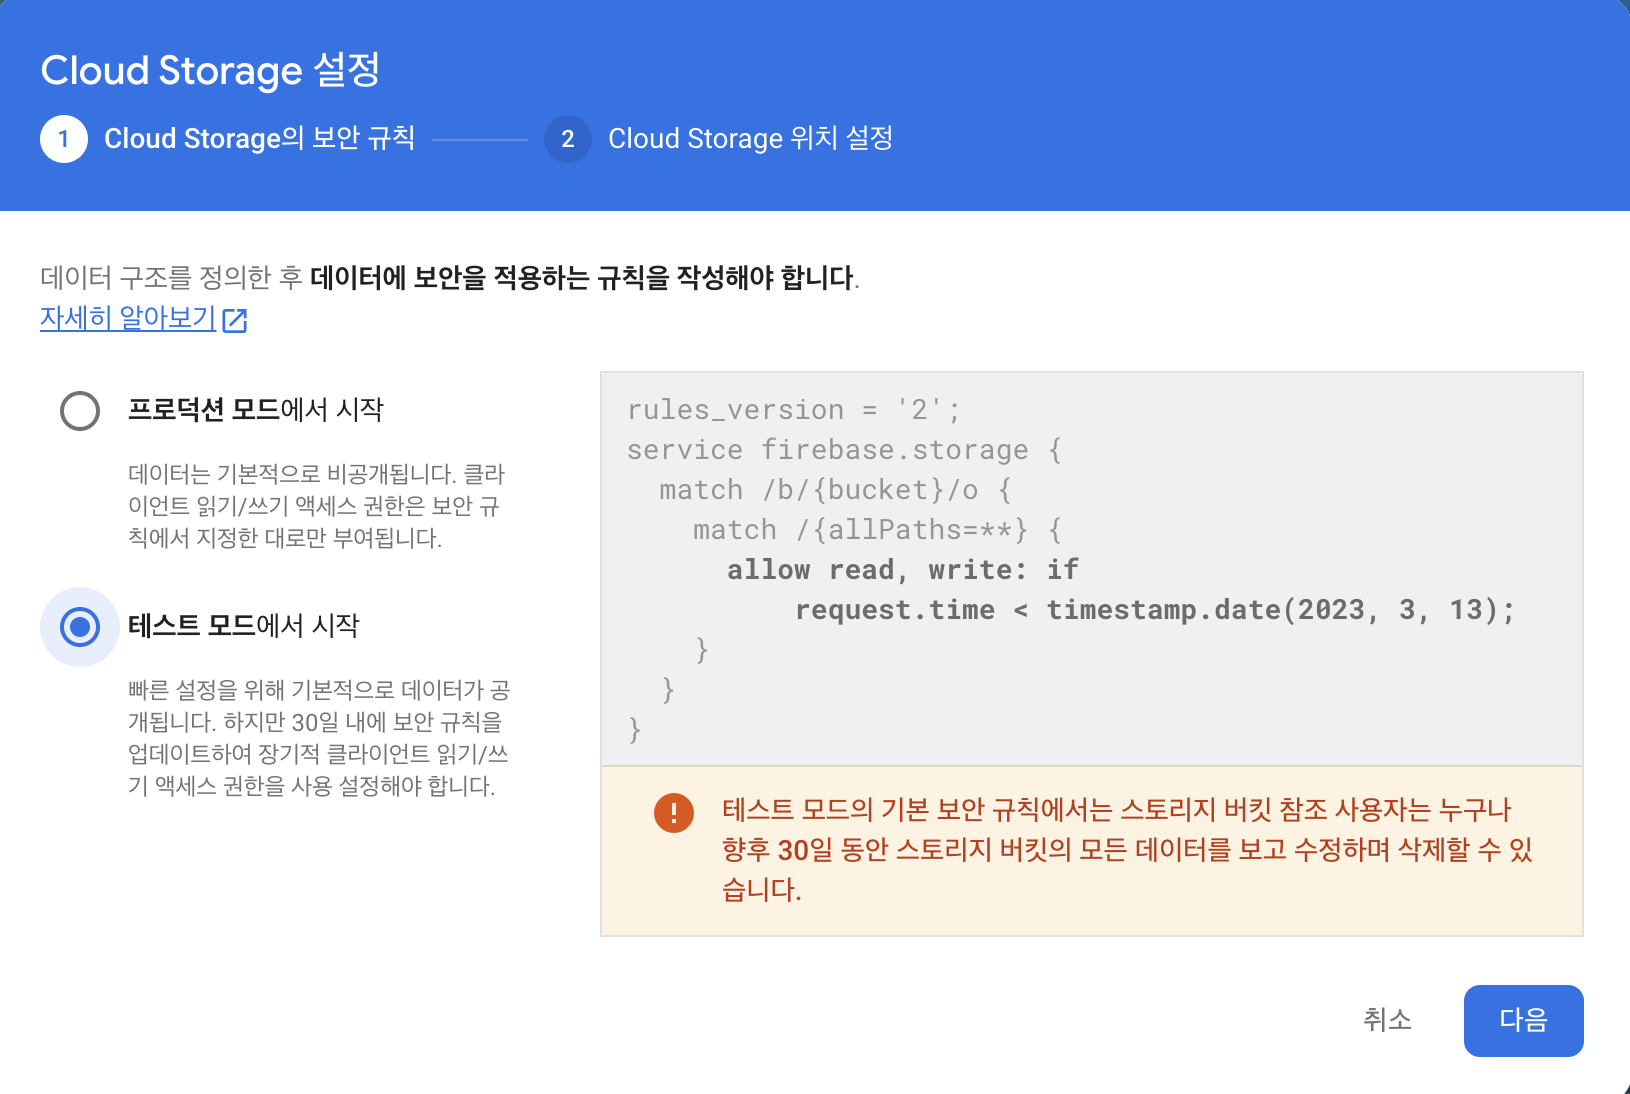
데이터 베이스를 만들고
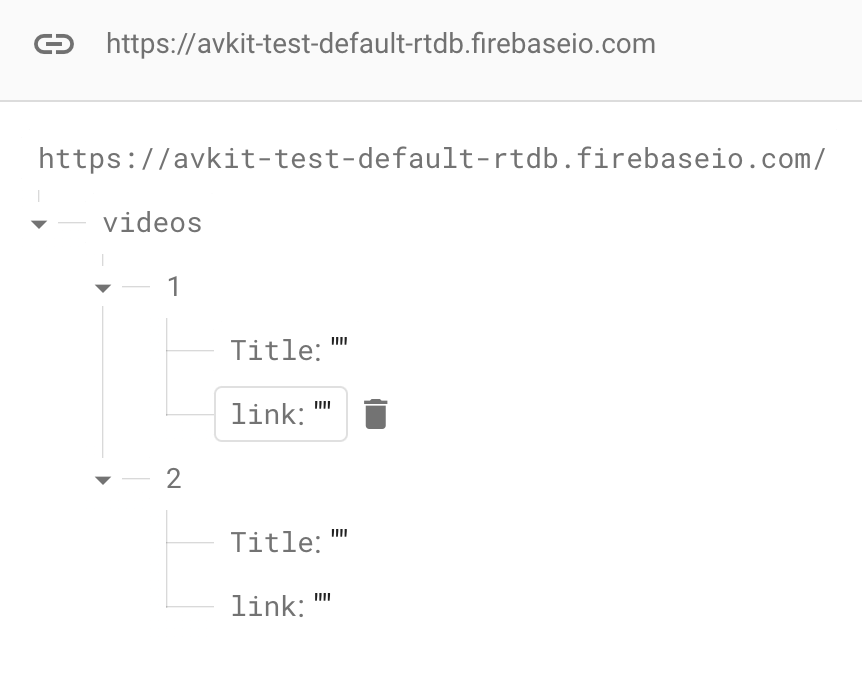
경로를 이렇게 설정해 준다,
이후 FirebaseStorage에 짧은 영상을 2개 업로드 해 준다.(여러개도 상관없음)
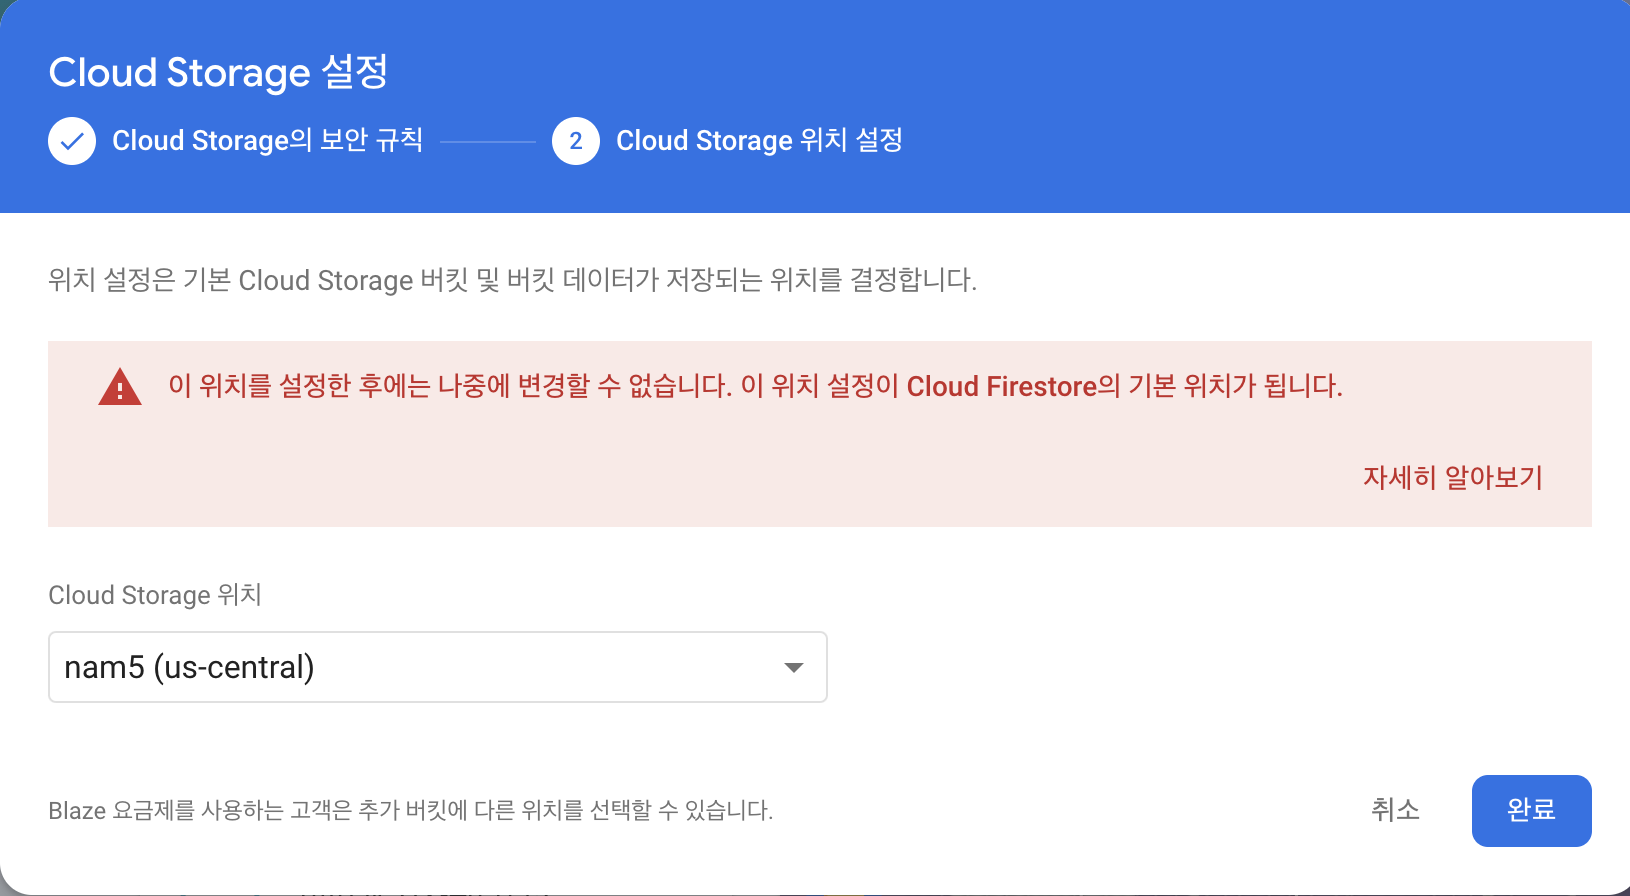
이렇게 영상 2개를 업로드 한후
영상을 클릭하면
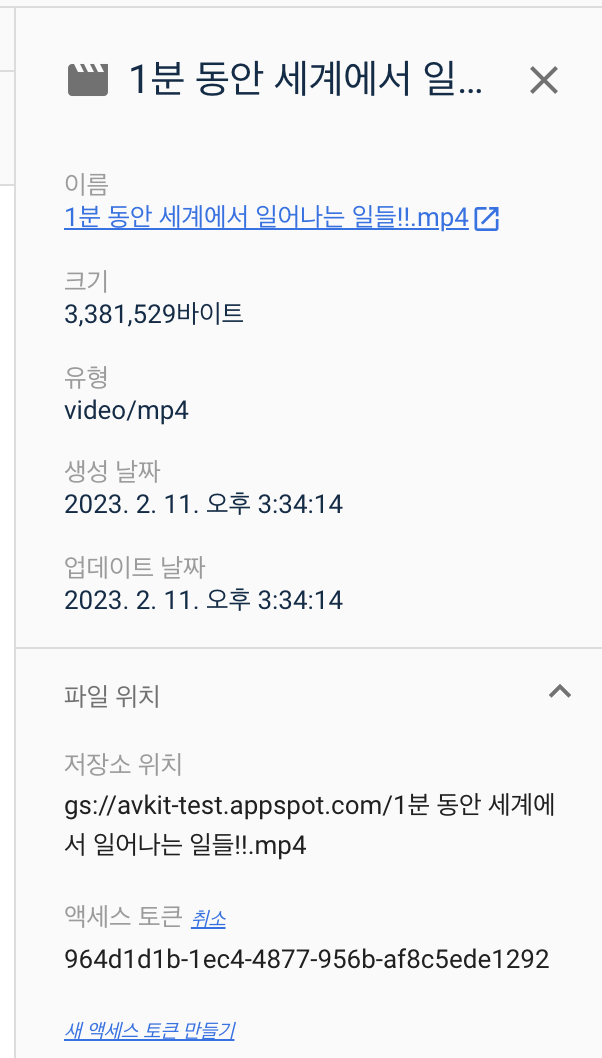
오른쪽에 이 화면이 나올것이다.
그리고 파일위치의 엑세스 토큰을 복사해 준다.

복사한 url을 Firebase RealTimeDatabase 경로에 추가해 준다.
나머지 1개도 해준다.
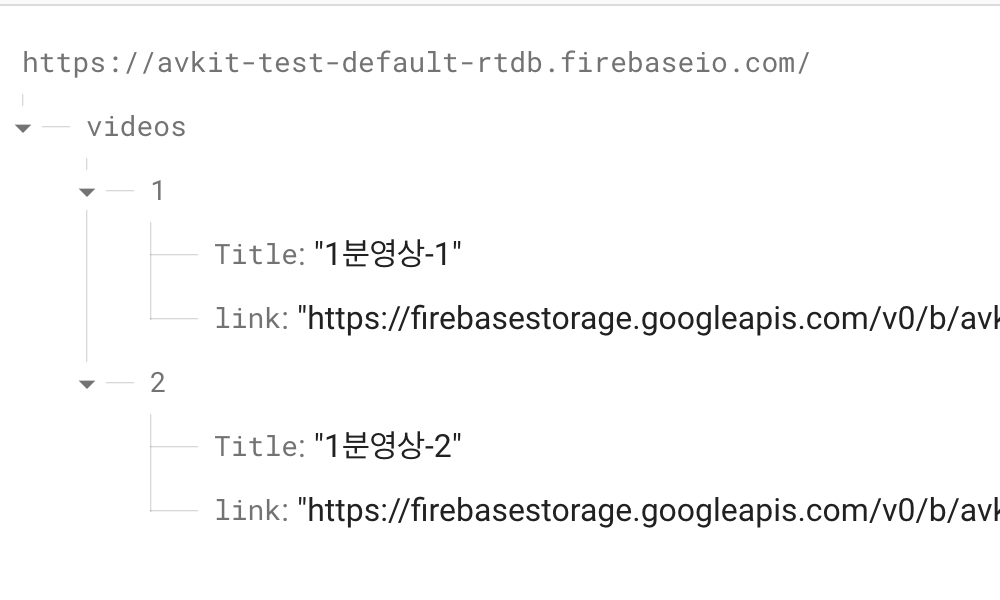
그럼 이렇게 경로 설정이 완료가 된다~
다시 Xcode로 돌아와서
command + N을 눌러 Swift파일을 추가해 준다. 이름은 Videos로
Videos.Swift
import Foundation

class Videos {

    var Title: String?
    var link: String?

    init(Title: String?, link: String?) {
        self.Title = Title;
        self.link = link;
    }
}
다음은 뷰컨트롤러의 아울렛 설정을 할 것이다.
command + N 을 눌러 CocoaTouch Class를 만들어 준다.
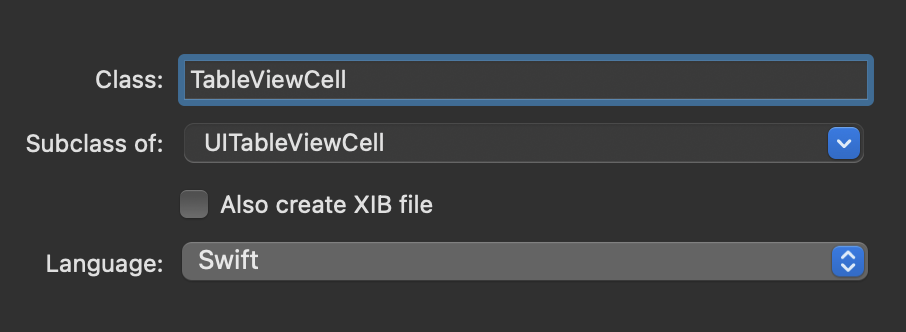
이후 메인의 테이블뷰 안에 있는 cell을 클릭 한 후
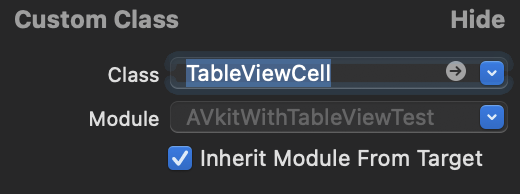
만든 코코아터치 클래스로 설정을 해 준다
TableViewCell.swift
import UIKit

class TableViewCell: UITableViewCell {

    @IBOutlet weak var titleLabel : UILabel!

    override func awakeFromNib() {
        super.awakeFromNib()
        // Initialization code
    }

    override func setSelected(_ selected: Bool, animated: Bool) {
        super.setSelected(selected, animated: animated)

        // Configure the view for the selected state
    }

}
라벨의 아웃렛을 설정해준다.
그리고 뷰컨트롤러로 돌아와서
테이블뷰의 아웃렛을 설정한후~
ViewController.swift
import UIKit
import Foundation
import Firebase
import FirebaseDatabase
import AVKit


class ViewController: UIViewController, UITableViewDelegate, UITableViewDataSource{


    var table = [Videos]()
    var ref: DatabaseReference!

    @IBOutlet weak var TableView: UITableView!
    override func viewDidLoad() {
        super.viewDidLoad()

        ref = Database.database().reference().child("videos")

        ref.observe(DataEventType.value, with: { [self](snapshot) in
            if snapshot.childrenCount > 0 {
                self.table.removeAll()

                for video in snapshot.children.allObjects as! [DataSnapshot] {

                    let Object = video.value as? [String : String]
                    let Title = Object?["Title"]
                    let videolink = Object?["link"]

                    print(Title)
                    print(videolink)


                    let video = Videos(Title: Title as? String, link: videolink as? String)
                    self.table.append(video)

                    TableView.delegate = self
                    TableView.dataSource = self
                    self.TableView.reloadData()

                }
            }

        })


    }

    func tableView(_ tableView: UITableView, numberOfRowsInSection section: Int) -> Int {
        return table.count
    }

    func tableView(_ tableView: UITableView, cellForRowAt indexPath: IndexPath) -> UITableViewCell {
        let cell = TableView.dequeueReusableCell(withIdentifier: "cell") as! TableViewCell

        let video: Videos

        video = table[indexPath.row]
        cell.titleLabel.text = video.Title

        return cell


    }

    func tableView(_ tableView: UITableView, didSelectRowAt indexPath: IndexPath) {

        guard let videoURL = URL(string: table[indexPath.row].link!) else {
            return
        }

        let player = AVPlayer(url: videoURL)

        let controller = AVPlayerViewController()
        controller.player = player

        present(controller, animated: true) {
            player.play()
        }
        print("tabVIew clicked")
    }


    override func didReceiveMemoryWarning() {
        super.didReceiveMemoryWarning()
        // Dispose of any resources that can be recreated.
    }


}
시뮬레이터를 실행시키면
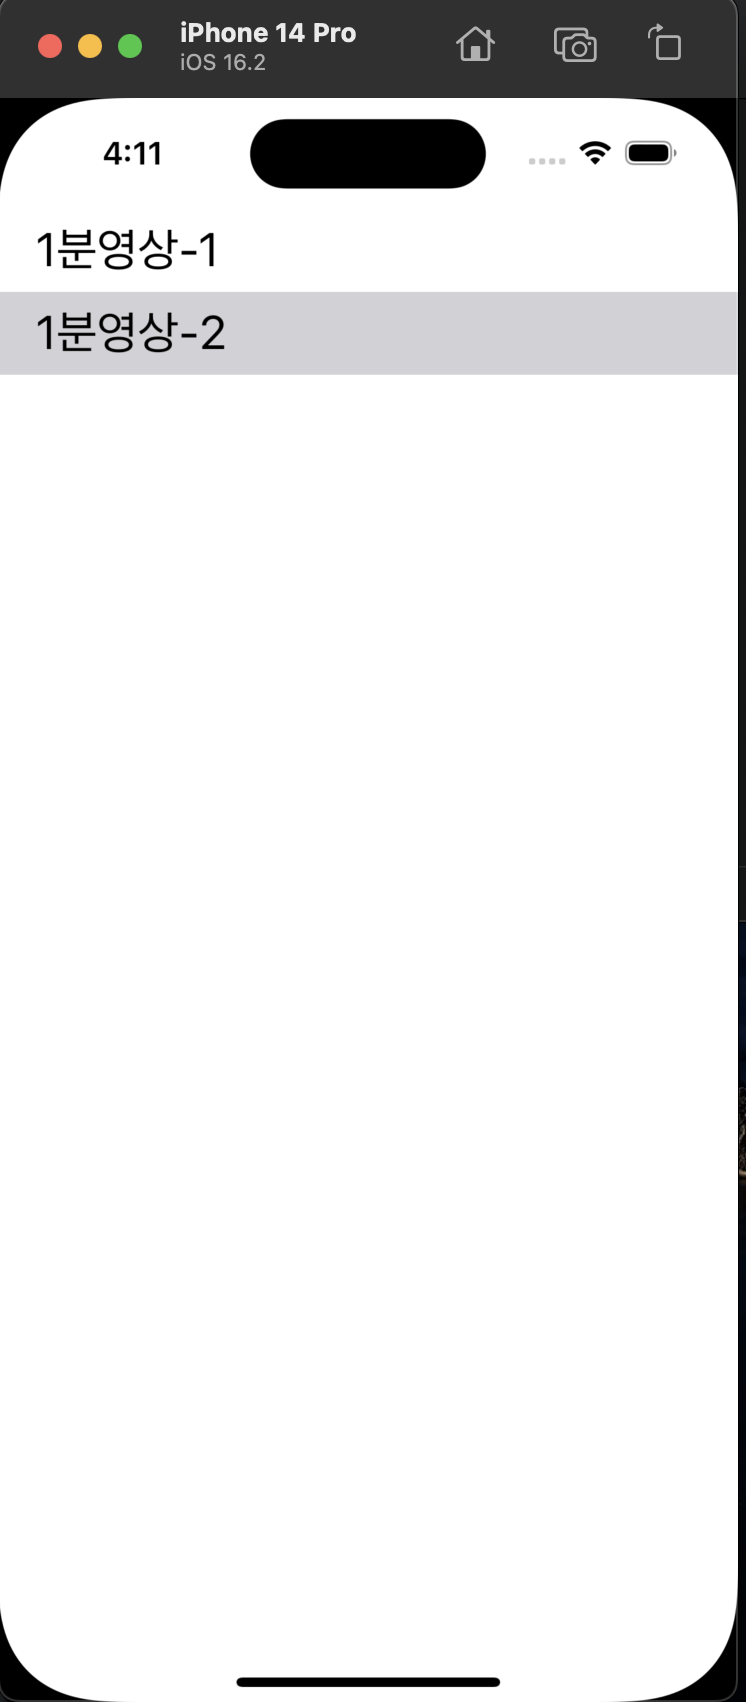
이렇게 셀들이 올라오고 터치하면 동영상이 플레이어로 나오게 됩니다!.
코드
https://github.com/jjwon2149/iOS---SwiftPractice/tree/main/AVkitWithTableViewTest
GitHub - jjwon2149/iOS---SwiftPractice
Contribute to jjwon2149/iOS---SwiftPractice development by creating an account on GitHub.
github.com
'캡스톤디자인(졸업작품)' 카테고리의 다른 글
| 위협 행동 실시간 감지 시스템 ) -완- 후기 (0) | 2023.06.06 |
|---|---|
| 위협 행동 실시간 감지 시스템 ) AWS EC2 ubuntu 18.04 CUDA11.4,CUDNN8.2.4, openCV4.7.0설치 (0) | 2023.04.11 |
| 위협 행동 실시간 감지 시스템 ) Swift Uikit 앱 만들기 2 - 탭바, 웹뷰 (0) | 2023.02.07 |
| 위협 행동 실시간 감지 시스템 ) Swift Uikit 어플 만들기 1 - 탭바, 웹뷰 (0) | 2023.02.07 |